How To Create Plum Ombre Painted Pumpkins
Create a fun fall centerpiece for anywhere in your home with a gathering of ombre painted pumpkins.
This year, I decided to get a little plum pumpkin festive! I created a fun ombre painted pumpkin centerpiece that is perfect for our dining room this fall season.

This craft may look complicated but it’s totally not. Once you get your ombre paint measurements figured out, it’s totally smooth painting from there on out. Grab a pumpkin, paint it and done! 😉

If you are looking for some fun ways to decorate some pumpkins this season, I have teamed up with some great ladies that are full of ideas. I will show you all of theirs in just a sec. First, let me explain how I made my plum pumpkins!
HERE’S WHAT YOU NEED TO MAKE THESE OMBRE PAINTED PUMPKINS:
(affiliate links may be included for your convenience)
- pumpkins (variety of sizes and the color does not matter)
- two colors of paint (I wanted a matte finish, so I went with chalk paint in colors lavender and lilac bloom)
- paint for stems (I used gold metallic)
- brushes
- mixing tray
- optional – faux eucalyptus
Gather Your Pumpkins
So one of the best parts about this DIY fall tutorial is the pumpkins can be real or faux and any color. I chose faux because I didn’t want to take the extra steps in cleaning the pumpkins to delay rot.

And if I decided to go with plum colors next year, I could use these same pumpkins again. Or I can even paint them a new color. So to me faux is just more user friendly! 😉 I gathered up a total of 20 pumpkins.
Mark And Divide
Then I took my 20 pumpkins arranged them on the table (pictured above). I moved them around and tweaked until I had them exactly like I wanted for the finished look. Once I had that done, it was time to mark and divide.

The 20 pumpkins where divided into four groups of five pumpkins each. So I carefully lifted up each pumpkin from it’s finished location and marked a 1, 2, 3, or 4 on the bottom of the pumpkin.
Start Painting
Now this is the little tricky part. The reason way I separated my pumpkins into four groups is because I will be painting them four different colors to achieve the gradual ombre effect.

Starting with the darkest paint color and working down to the lightest, the paint mixture breaks down like this:
1 Group: 100% Lavender – color one (darkest color)
2 Group: 2/3 parts Lavender to 1/3 parts Lilac Bloom
3 Group: 2/3 parts Lilac Bloom to 1/3 parts Lavender
4 Group: 100% Lilac Bloom – color two (lightest color)
As I mentioned before, my colors where all in the purple/plum family. But this mixture of paint should work with any two colors you choose.

So I started by painting group 1 and group 4 first because it was just simply painting the pumpkins. No mixing paint colors required. Then I worked my way to the other groups.
Note: you will probably need to apply more than one coat. Actually, I think I gave all of my pumpkins three coats each. A little time consuming, yes. But you can easily paint while watching a favorite TV show or listening to a podcast. It doesn’t required a ton of mind power, no what I’m saying? 😉
Create Ombre Effect
Now that two contrasting groups of pumpkins are painted it’s time to start painting groups two and three. I used my little mixing tray to combine my paint.

To measure the paint, I used a simple plastic spoon. Two spoons of one color and then a spoon of the other — depending on the group I was painting. (refer to break down of paint mixtures above)
Once the pumpkins where dry, it was time to move on to the stems.

Paint the Stems
I did make a little mistake with my stem painting. At first I picked a metallic paint color called champagne. It was like a silvery-gold combination. But I found it just didn’t compliment the pumpkins like I thought it would. I probably was just too drawn to the fancy paint name! 😉
So I decided to paint over the stems with a metallic gold instead and it instantly looked so much better! The gold is so more complimentary to those purple plum colors.

Enjoy Your Pumpkins!
Now all that’s left is to assemble all your pumpkins back to their original grouping. Then for fun add some more contrast, I added some faux eucalyptus tucked in along the sides of the pumpkins.

I placed mine in the dining room for a table centerpiece. But you could display them on a mantle, on your kitchen island or even a bedroom dresser!
I hope you enjoyed this fun pumpkin craft. You can shop all the supplies needed to make these ombre painted pumpkins below:
SHOP THIS POST HERE:


Here are my friend’s decorating pumpkin ideas!
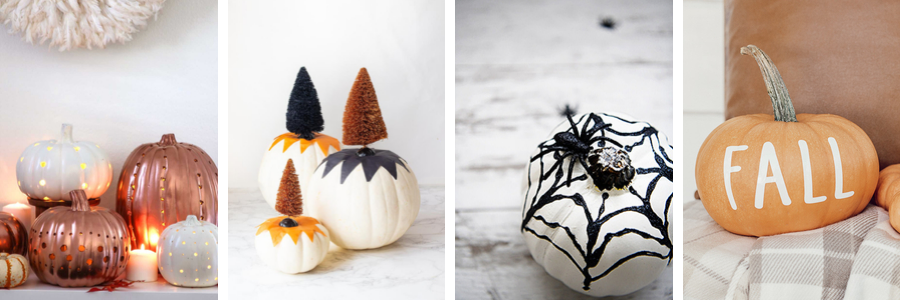
Pumpkin Decorating Ideas | Modern Glam
Decorating Pumpkin Ideas | Happy Happy Nester
Fall Pumpkins | Pink Peppermint Design
Vinyl Decals | Twelve on Main
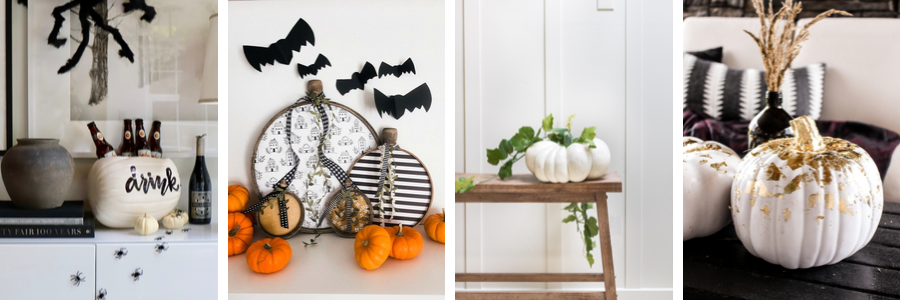
DIY Pumpkin Beverage Chiller | My Sweet Savannah
Embroidery Hoop Farmhouse Pumpkins | Tatertots and Jello
DIY Pumpkin Patch | Zevy Joy
Gold Leaf Pumpkins | Taryn Whiteaker Designs
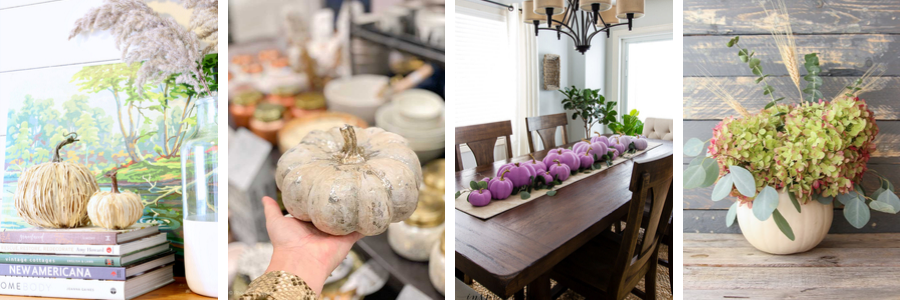
Raffia Pumpkins | The Tattered Pew
How to Make Gold Leaf Pumpkins | Hallstrom Home
Ombre Painted Pumpkins | Inspiration for Moms
Ways to Decorate with Pumpkins | The Happy Housie
Tissue Paper Pumpkin | Sincerely, Sara D
Love the contrast!
These are beautiful, Laura!! I love how they turned out – such a fun idea to ombre it down your table like that!
Good morning! Those ombre pumpkins are gorgeous! Do you mind sharing the source for your dining room light? Thanks so much!
Thank you, Kelly!! Our dining room light is from Lamps Plus. It’s like four years old so I’m not sure if it’s available any more. 🙂
Simply Gorgeous
Thank you, Rebecca!