Build Your Own Built-in Bookshelves
and you know what? They were!

![]()
Just to see what it would look like,
I placed in some empty picture frames.
I can’t wait to finish decorating this with actual pictures and pretties!
I am going to share with you the materials, process and tricks I used to build this unit.

.jpg)
.jpg)
.jpg)
.jpg)
.jpg)
.jpg)
Bonus Tip:
.jpg)
.jpg)
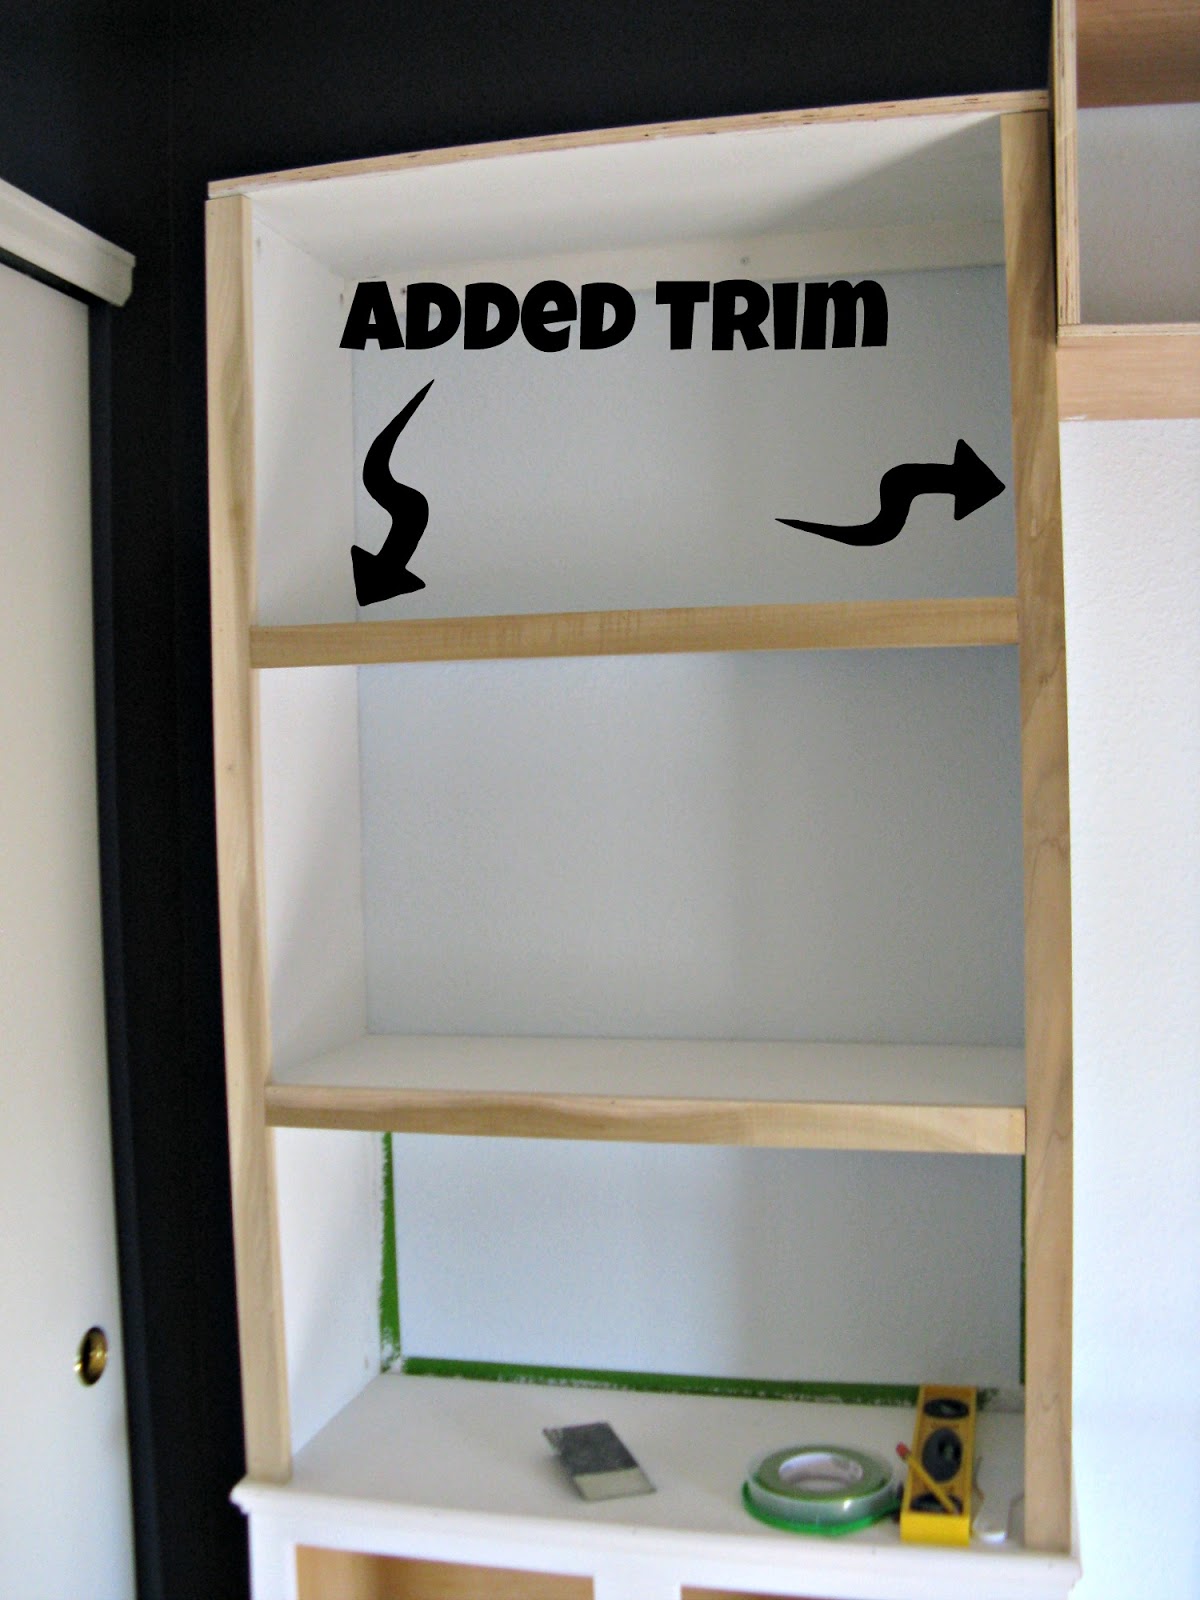
I also screwed into the upper support board directly into studs for added stability.
(You might notice that I sneaked in some painting here too.
I thought it would be easier to paint the shelves before I installed them.)
.jpg)
.jpg)
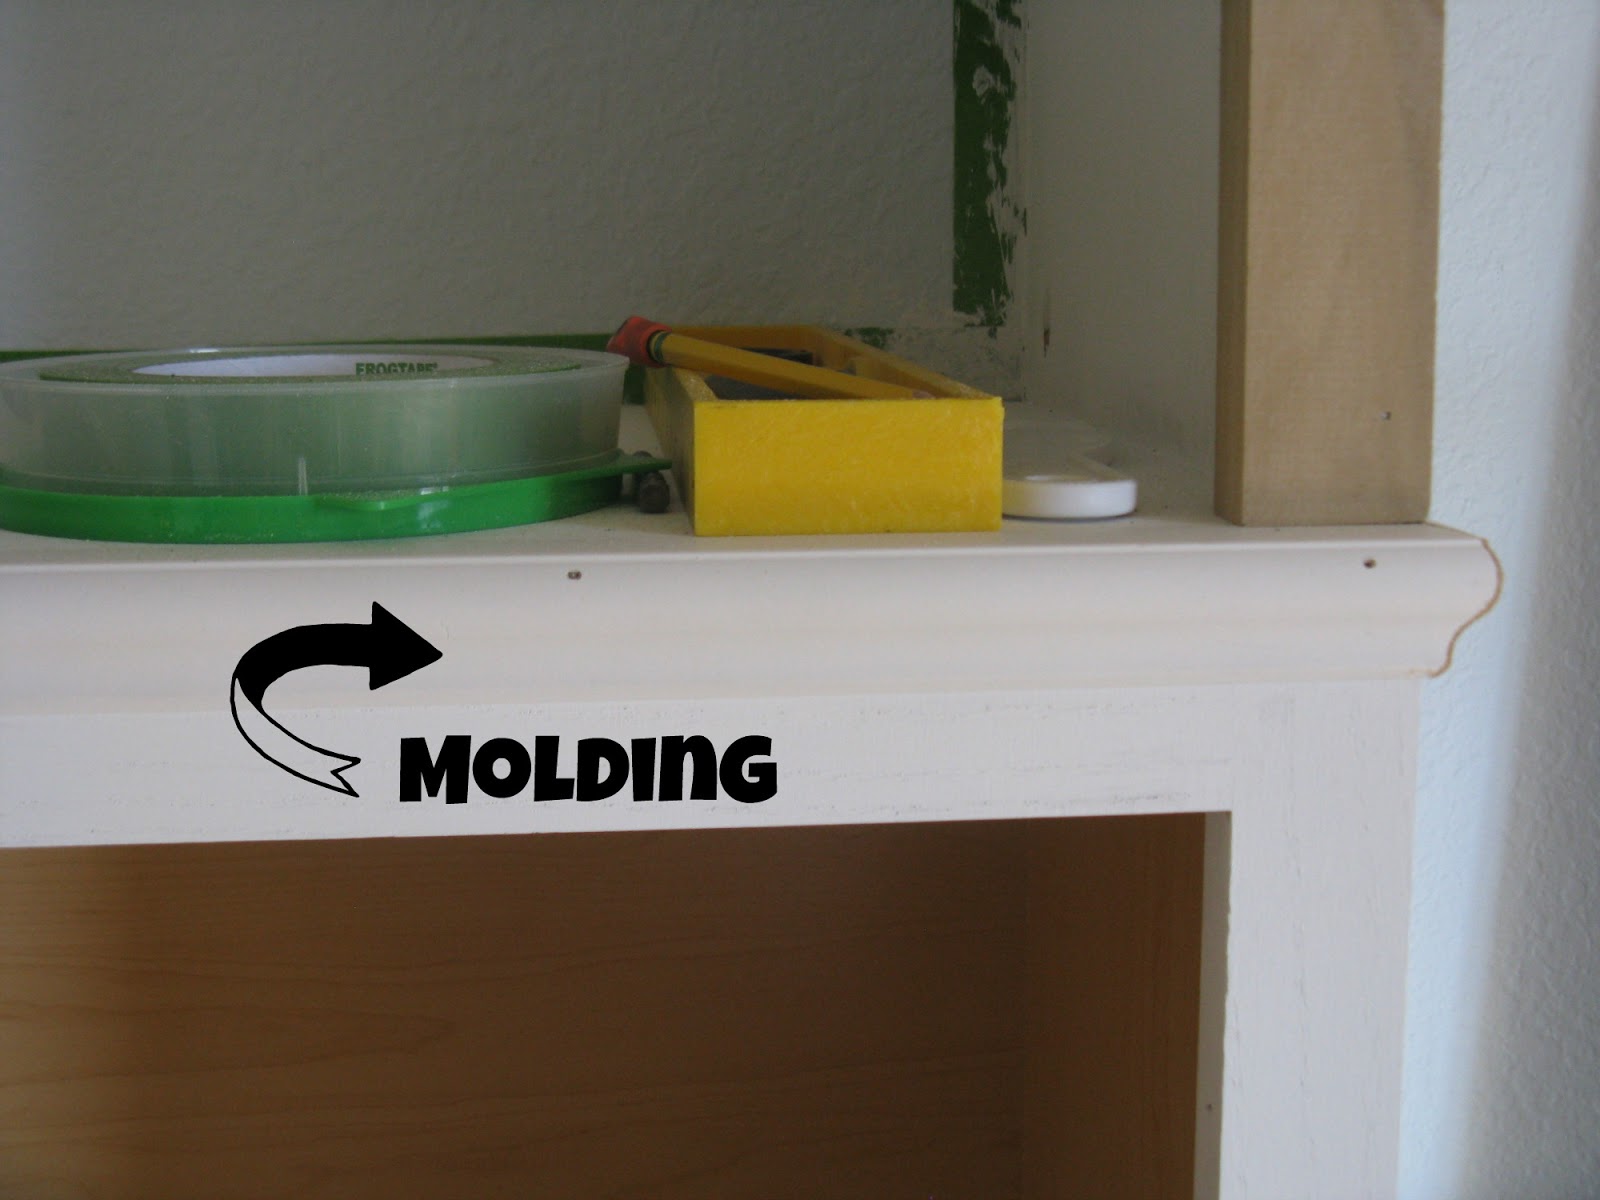
I wanted to connect the shelves so I created this ‘box’ to give them a unified look.
.jpg)
For the sides I used leftover 3/4″ birch plywood and the top and bottom was made with 1/2″ birch plywood. To complete the look I added molding on top and around the edges.
.jpg)
I have already added some door hardware and plan to do a few more
finishing touches before I am totally done with this project.
But that hasn’t stopped me from already filling these bad boys up with toys…
.jpg)
Can’t wait to show you the whole big boy room reveal.
I still have a few more projects to complete like
a plank wall, some roman shades, a few light fixtures and some shark art!
Yikes! When I list it all out like that it seems overwhelming! 🙂
Skip To My Lou
Serendipity and Spice
Today’s Creative Blog
Savvy Southern Style
The Shabby Creek Cottage
The Shabby Nest
Tatertots and Jello
Organize and Decorate Everything
House of Hepworths
DIY Show Off
My Uncommon Slice of Suburbia
DIY Home Sweet Home
It’s Over Flowing
Home Stories A to Z
The Southern Institute
At The Picket Fence
Miss Mustard Seed
Delightful Order
Somewhat Simple
Wow! Awesome job!! I live these.
Ruth
Amazing! Fantastic job! I am sure your little guy will love his room when you are done. 🙂 Found you through Todays Creative Blog.
Julie @ Being Home (fellow Coloradan and chai drinker. Try Dazbog)
Thanks Ruth and Julie! 🙂
I love this. Please link it to my linky party & anything else you have to share. 🙂 Thanks, Peggy. http://diycraftyprojects.com/2012/10/whatcha-work-up-wednesday-linky-party-6.html
I’m SO impressed! Looks great! 🙂 Thanks for linking up!
I can’t tell you how impressive this is – what an amazing job!!!
Definitely your newest follower –
Would love to have you follow back when you have the time!
Hugs,
Suzan
Wow, Laura! I have plans to do this sometime soon (probably after the holidays). You did an amazing job! Thanks so much for sharing!
You have some major skills going here, Laura. I’m not a tool kinda girl- I just dream up ideas and let someone else implement them! LOL I admire your talent. 🙂 Sue
This is awesome! Thanks for linking up.
I would love for you to share this (or any of your other great ideas) at the link party going on now at ‘Or so she says …’ We’ve also got a fun “Favorite Things” giveaway going on right now. Hope to see you there! http://www.oneshetwoshe.com
Did you put this right over carpet? I am looking to do similar project and would like to know more about how you did the bases.
Yes! I placed them right on top of the carpet.
I’m sure you are really enjoying all the extra storage. It looks really great.
You did a great job. Now your son has lots of storage.
Yeah! I have been trying to get my husband to build some built-ins. This tutorial will help get hi moving! Thanks for sharing!!!
You did an amazing job – love the shelves and they will be so nice for your little guy . Thank you so much for sharing your wonderful tutorial with Share It One More Time. Cathy
Your project turned out great! Thanks for sharing your tutorial at the Inspiration Spotlight party! http://www.dearcreatives.com/blogging-linky-party-inspiration-spotlight-linkup-party-142/ Hope to see you again soon. Pinned & shared.